Super Snacks: Vegan Spinach Artichoke Dip

The Superbowl is tomorrow-we’re getting hungry and excited planning our snack menus! So far this week we’ve shared Nachos two ways & Jalapeño Poppers two ways. To conclude snack week we’re sharing another classic favorite, Spinach Artichoke Dip. Jess has veganized the recipe into a creamy, salty, savory fan favorite dip. Plus it’s a little healthier than the traditional version, and Paleo too! I served most of the dip in little ramekins, but then I had a brilliant idea and rolled the remainder of the dip inside of Pillsbury crescent rolls. Little pockets of breaded, creamy dip-yum!!!

IMG_5571

IMG_5549

Spinach Artichoke Dip

(VEGAN)

Ingredients:

  • 1 14 oz can artichoke hearts, drained and chopped
  • 2 cups fresh spinach, measured and then sliced in thin strips
  • 1/4 yellow onion, thinly sliced or diced
  • 3 cloves garlic, chopped
  • sprinkle of salt, black pepper and red pepper flakes, seasoned to taste
  • 1 1/4 cups raw cashews, soaked overnight
  • 1 cup hot almond or soy milk
  • 1 teaspoon apple cider vinegar
  • 2 tablespoons and 1/2 teaspoon tapioca starch/tapioca flour
  • 1 teaspoon olive oil
  • 2 teaspoons salt
  • 2 tablespoons nutritional yeast
  • 1 1/2 teaspoons paprika
  • Crescent roll dough (optional)
  • Bread, sliced veggies or crackers for serving

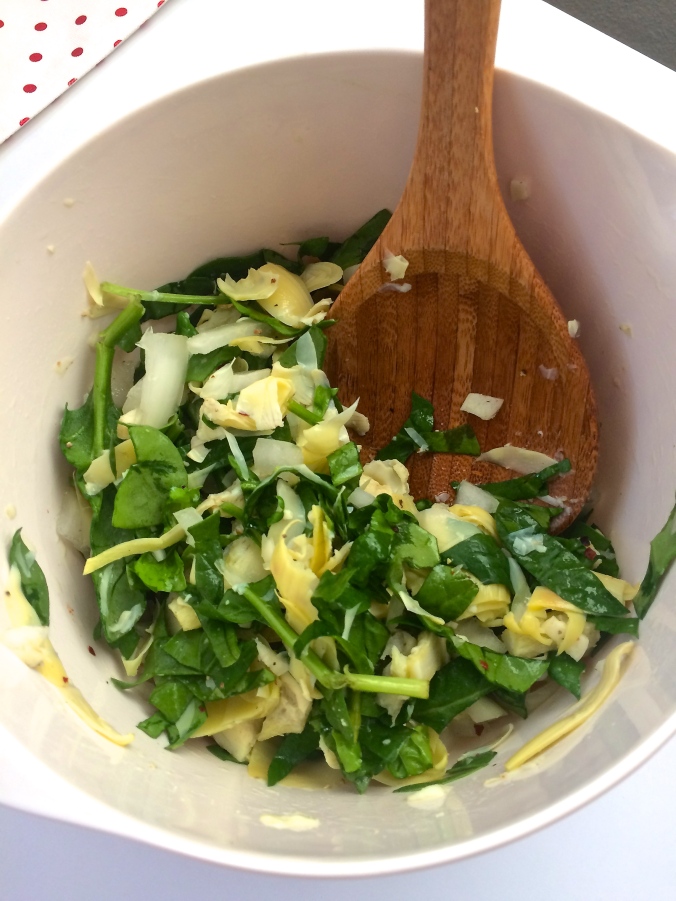
Preheat oven to 350. In a medium mixing bowl, mix together artichoke hearts, spinach, onion, garlic and generous sprinkling of salt, pepper and red pepper flakes. Toss to combine and set aside.

IMG_5532

In a food processor, blend together remaining ingredients for about 1 minute or until smooth.

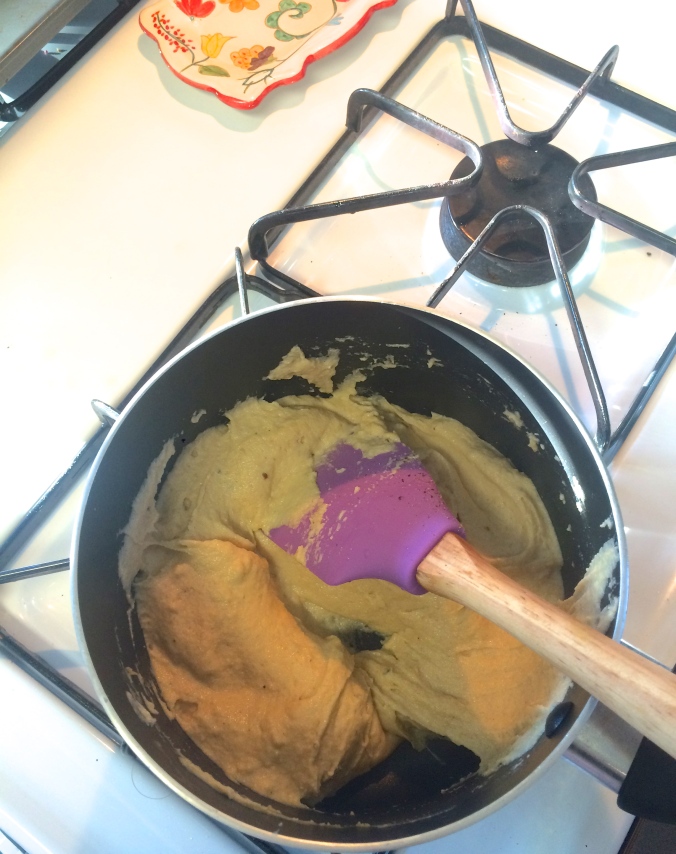
Pour the mixture into a small pot or saucepan and heat over medium heat, stirring occasionally. When the sauce begins to thicken, stir continuously, turn down the heat a tad, and continue for about 2 minutes. Tapioca starch does amazing things to make sauces stretchy and thick!

IMG_5536

IMG_5539
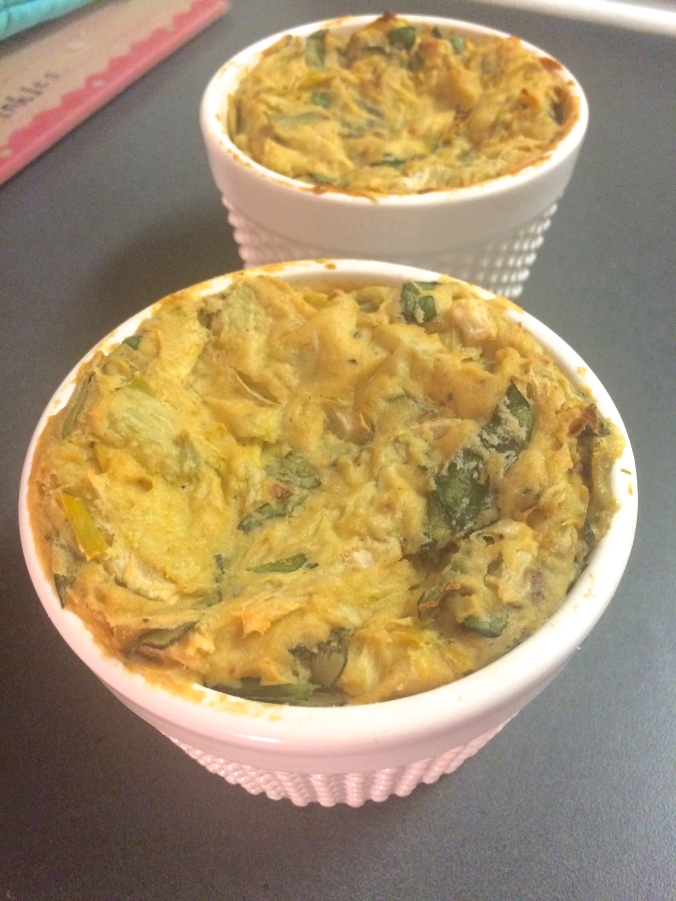
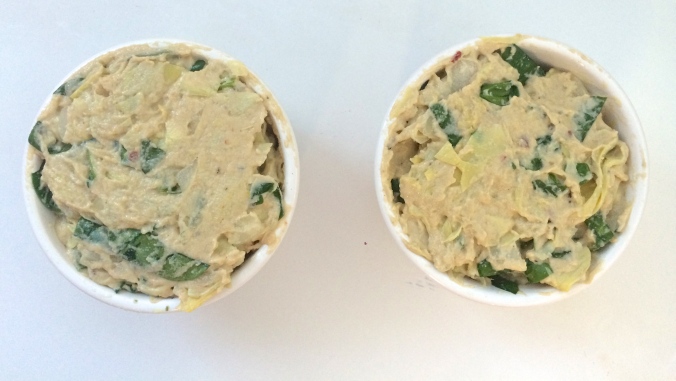
Pour the sauce over the veggie mixture and stir well. Add any spices you feel are lacking and pour into a baking dish, divide into ramekins, or roll into Pillsbury crescent rolls. For the crescent rolls, I laid a piece of dough out flat, spooned a small amount of dip at the base of the triangle and then rolled it forward as you normally would with a roll.

IMG_5542

IMG_5540

The bake time will vary according to your dish, the crescent rolls take about 15 minutes to bake, while the ramekins took about 40. Keep your eye on the oven, you want the dip to get nice and golden on top. Serve warm with bread, crackers, sliced carrots or bell peppers.

IMG_5561

If you’re looking for more snack ideas try our popcorn, potato skins, or brussels sprouts!

Buffalo Chicken Salad, Two Ways

Happy New Year! Our New Year’s Resolutions are in full effect and whether you’ve vowed to eat healthier, eat at home more often, try new foods, or eat your greens, these salads have you covered. We’re sharing a traditional and vegan take on Buffalo Chicken Salad, a tried and true favorite for most everyone, and to take it a step further, we’re sharing homemade ranch recipes. Both recipes are super easy and nutritious and we even venture to say you’ll never eat store-bought ranch dressing again!

IMG_5175.jpg

IMG_5138.jpg

IMG_9685_Fotor

IMG_9681_Fotor


Click the link below to get spicy & saucy!

Continue reading

Almond Pulp Granola

Earlier this week we made easy, creamy almond milk, which left us with some almond pulp, perfect for making gluten-free, paleo granola.  Granola is definitely one of my guilty pleasures, and this version is one of my favorites, as it feels much less like a guilty pleasure and more like a healthy breakfast food. Feel free to get creative with this recipe, adding and substituting your favorite granola ingredients!

IMG_3946

IMG_3961

Almond Pulp Granola

(VEGAN)

Ingredients:

  • Almond pulp from a batch of almond milk
  • 2 tablespoons melted cooconut oil
  • 1 tablespoon agave or maple syrup
  • 1/2 cup dried cranberries
  • 1/2 cup chopped walnuts
  • 1/2 cup shredded coconut
  • 1/2 tablespoon vanilla extract
  • 1/2 teaspoon cinnamon

Preheat oven to 350. Line a baking sheet with parchment paper and spread the almond pulp evenly over the sheet.

IMG_3948

Bake at 350 for about 15-20 minutes, until the pulp begins to turn golden.

IMG_3952

Remove from the oven and pour the pulp into a mixing bowl. Add all other ingredients and mix well.

IMG_3955

Pour the granola back onto the sheet and bake for another 15-20 minutes, until brown. Enjoy with your almond milk, over yogurt, or gift it with a jar of almond milk!

IMG_3968

Easy Homemade Almond Milk

IMG_3928

I think everyone has asked themselves at least once (or googled!), while enjoying a delicious glass of creamy almond milk, “How do you milk an almond?” All of your questions will be answered with this recipe (hint: you don’t milk an almond, you blend it). Making homemade almond milk sounds a lot more intense and consuming than it really is. Once you’ve soaked your almonds the whole process takes about 10 minutes, and even less to drink it! I love making almond milk from scratch because I can control how sweet I make it, and it is free from extra preservatives and additives that the store-bought variety contain. Because this milk is preservative free, you should enjoy it within the first three days of making it. A jar of almond milk and a box of homemade cookies make a great gift! Plus, check back later this week and I’ll share a tasty, gluten free recipe using the almond pulp you’ll yield from the almond milk.

 IMG_3935

Ingredients:

  • 1 cup raw almonds, soaked overnight
  • 3 1/2 cups water
  • 3 medjool dates, pitted
  • sprinkle of cinnamon
  • sprinkle of salt
  • 1/2 teaspoon vanilla extract (optional)
  • nut milk bag or cheese cloth (you can find these at some grocery stores, Whole Foods, or online.)

IMG_3911

If this is your first time soaking nuts to make milk or cheese, (welcome!) place the nuts in a jar or container and fill with water until the nuts are covered. Place in a cool, dry place, and forget about them for at least four hours, but I usually choose to leave them overnight.
After the nuts are soaked, drain and rinse and plop them in the blender with all of the other ingredients and blend for about 1 minute.

IMG_3914

I highly recommend using a nut milk bag for the straining portion of this recipe, as it is a lot easier than a cheese cloth. If you are using a cheese cloth (as shown here), I recommend using a shallow bowl so the cloth is easier to manage. Slowly pour the blended mixture through the bag, (do this in small batches if using the cloth) and allow to drain in a mixing bowl. Squeeze the excess milk out of the bag.

IMG_3916

IMG_3921

Transfer the milk to a jar and-look at that! You’ve successfully milked an almond. What’s left in the bag is called almond pulp or meal. Store it in a ziploc bag or tupperware in your freezer; I’ll be sharing a recipe later this week using the almond pulp! Zero waste recipe right there.

IMG_3932

Popcorn Party

popcorn gif

IMG_4756

IMG_4799

Hi everyone! Can you believe it is already October? One of the best things about fall, especially Halloween, is curling up on the sofa with a scary movie and a big bowl of popcorn. Today we’re sharing a few popcorn recipes to make those movie nights a little more fun (hint hint, no microwaves involved!). We’re hosting a popcorn party with almond caramel corn, spicy chili lime and truffle parmesan popcorn. Popcorn is so easy to make and is also relatively low in calories. The best part is, all of these recipes are very simple and there is no baking required. So get the scary movie ready and let’s get this party started!

First, we will share the recipe for homemade popcorn, which will be used for all of our popcorn topping recipes. Then we will share the recipes for our featured flavors. Enjoy!

IMG_4695

IMG_4794

IMG_4795

First things first, the popcorn. We are absolutely NOT microwaving our popcorn! Come on, you are better than that. Microwaveable popcorn is full of chemicals and hidden calories. Homemade popcorn, made over the stove, is healthier and cheaper than microwave popcorn. It tastes better, too! If you haven’t tried it before, it is easier than you may think.

IMG_4681

I have fond memories of being at my grandmother’s house as a young girl, her house full of kids as Jess and I ran around with our cousins. I admire her for so many reasons, but especially because she was always encouraging her grandchildren to help in the kitchen and share in her love of cooking. Many of the first dishes I ever made were made in her kitchen using recipes passed down over generations. Popping popcorn over the stove with my cousins was a great activity that kept us all entertained and better yet- fed!

Choose a popcorn brand that you like and make sure to buy raw popcorn kernels. I have used many different kinds and find that they are mostly the same. Trader Joe’s sells a huge bag that lasts forever and it is only $2- can’t beat that! For our popcorn party, I used a brand (White Cat Corn) that I found at Sur La Table, because I always need an excuse to go in that store and because I am a sucker for anything in a mason jar. Any regular raw popcorn kernel will work, though.

IMG_4686

HOMEMADE POPCORN

Ingredients: 

  • 3 tablespoons canola oil (can use coconut oil instead)
  • 1/3 cup popcorn kernels
  • 1 large pot with a lid

This makes about 6-8 cups of popped popcorn, enough for two people.

Directions:

  1. Heat the oil in a large pot on medium high heat.
  2. Put 2-3 kernels in the oil and cover the pot with the lid.
  3. When the kernels pop, add the rest of the 1/3 cup of popcorn kernels in an even layer. Cover the pot with the lid.
  4. The popcorn will begin popping soon! Once it starts, gently shake the pot back and forth several times over the burner. This will help ensure even popping and no burnt popcorn. Also, crack the lid slightly so steam can escape.
  5. Once the popping slows to several seconds between pops, remove the pot from the heat.
  6. Remove the lid and dump the popcorn into a large bowl (Tip- the sooner you do this the less soggy your popcorn will be).

IMG_4696

IMG_4771

Click the link below for detailed topping recipes and step by step instructions to make

almond caramel corn, spicy chili lime, and truffle parmesan popcorn!

Continue reading

Meatless Mondays: Kale Caesar Salad

All hail kale! That’s pretty much my motto in life, and after you try this savory, filling take on caesar salad, I’m sure you’ll feel the same way. It is our third installment of Meatless Mondays this week, following Hearts of Palm Tacos and Fried Rice Two Ways. Kale is a very trendy food without a doubt, but it is delicious, packed with vitamins, and very versatile. This salad is vegan, and much healthier than traditional caesar salad, while still maintaining that creamy caesar taste. Make your Monday simple; let’s get started!

IMG_3764 IMG_3746

Ingredients: 

  • 1 bunch of dino or tuscan kale
  • juice from 1/2 lemon
  • 4 tablespoons olive oil
  • 2 tablespoons brown mustard
  • 3-4 cloves garlic, chopped
  • 1/4 teaspoon salt
  • 1/8 teaspoon onion powder
  • sprinkle of pepper

Wash your kale well and trim the stems off. Chop into bite sized pieces and throw in a mixing bowl. Chop your garlic and halve your lemon.

IMG_3748

This is the most important step! Pour about 1 tablespoon of olive oil onto your (clean) hand and sprinkle salt on top. Rub your hands together and massage the kale. This removes that bitter taste from raw kale.

IMG_3753

In a small bowl, mix together your olive oil, mustard, lemon juice, garlic, salt, onion powder, and pepper vigorously until well combined. Pour on top of the kale and toss well. I opted to add hearts of palm into my salad. Is it weird to say hearts of palm is my favorite food?

IMG_3763

There you have it! Incredibly quick Meatless Monday dish. I served mine with buttery herb pasta.

IMG_3768